Midjourney Tutorial: The Getting Started Guide

Diving into the heart of the visual revolution: How Midjourney is redefining image creation in the age of artificial intelligence - Your complete guide to mastering the platform.
In a world where artificial intelligence has become ubiquitous, Midjourney has distinguished itself as an inevitable platform for anyone looking to create stunning images and visuals. Thanks to its advanced features and seamless integration with cutting-edge technologies, Midjourney is not just a tool, but a veritable revolution in the field of visual creation. This tutorial is your step-by-step guide to registering with Midjourney and exploiting all the riches this platform has to offer.
It's almost impossible not to have heard of ChatGPT lately, especially with the rise of artificial intelligence in almost every area of our lives. This technological ferment has given rise to a myriad of tools that proclaim to be revolutionary, making the task of finding the real gems in this sea of innovation more difficult than ever. However, even before OpenAI's ChatGPT became the talk of the town, one player had already managed to stand out from the crowd and establish itself as an essential reference in the field of visual creation: Midjourney.

Midjourney is an exceptional platform that offers you the chance to create customised images using text prompts, a feature that opens the door to an infinite number of creative possibilities. However, it has to be admitted that the platform does present a certain level of complexity for new users, particularly due to the requirement to go through a Discord account to access its services. But don't worry, the benefits far outweigh the initial drawbacks. That's why I've taken the initiative of creating this comprehensive tutorial to guide you step-by-step through using Midjourney.
How can I join the Midjourney Platform?
Before diving into the fascinating world of image creation with Midjourney, the first crucial step is to register on the platform. However, there is one prerequisite: you must have a Discord account. If you're not already familiar with Discord, it's a communication platform that allows text and voice exchanges within various online communities. Originally popular in the gaming sphere, Discord has extended its influence and is now widely adopted by services linked to blockchain (Web3) and artificial intelligence to create and manage dynamic communities.
If you don't have a Discord account yet, don't worry! An account will be automatically generated for you when you register with Midjourney. You can access this account via a dedicated page provided by the platform. However, it's important to note one major drawback: due to growing demand for its services, Midjourney has recently transitioned from a free beta model to a paid subscription model. In this tutorial, I'll explore in detail the different subscription options available, as well as their respective features and benefits.
What subscription options are available?
Free Trial Option
Currently unavailable, this option offered the possibility of generating images in a restricted way, only in a public chat room on Midjourney's Discord server. This trial option allowed you around 30 minutes of resources to create your images. After this time, you had to switch to a paid plan.
Basic Plan
The Midjourney Basic Plan is priced at 10$ per month, or at a discounted rate of 96$ for an annual payment. This plan entitles you to around 200 image generations per month and also gives you access to the user gallery, which can be very useful for discovering successful prompts. What's more, this plan allows you to add extra credits if you need to. It authorises the simultaneous generation of 3 images and gives you access to 3.3 hours of accelerated generation per month, thanks to priority access to the GPU.

Standard Plan
Midjourney's Standard Plan is available for 30$ per month, with an annual payment option of 288$. This plan includes all the features of the Basic Plan, but goes further by offering unlimited slow-mode image generation each month. It also gives you access to 15 hours of image generation in fast mode.
Professional Plan
The Midjourney Professional Plan costs 60$ per month, or 576$ for an annual commitment. This plan includes all the features of the Standard Plan and adds 30 hours of fast mode generation. Another feature exclusive to this plan is 'Stealth Mode', an option of particular importance in the Midjourney ecosystem.
What is Midjourney's "Stealth Mode"?
In Midjourney's basic subscription plans, all the images you create are automatically published in your personal gallery, making them accessible to the general public. This can be a problem if you use the platform for professional or sensitive projects. That's where 'Stealth Mode' comes in, a feature exclusive to the Professional Plan. This mode allows you to maintain the confidentiality of your images by keeping them private.
To activate "Stealth Mode", simply enter the command /settings and deactivate the "Public Mode" option. If this instruction seems a little complicated, don't worry. I'm now going to get to the heart of the matter: how to create an image on Midjourney.
How do I create an image with Midjourney?
If you're one of the lucky ones with access to a free beta account, you'll need to head to one of the 'newbie' lounges on the Midjourney Discord server. For those with a paying account, images can be created directly by sending a private message to the Midjourney bot. To initiate this process, go to the right-hand section of the Discord server and search for "Midjourney Bot" to send it a message.

How to adjust the Midjourney settings
After initiating a private conversation with the Midjourney bot, we recommend that you configure your default settings first. To do this, enter the command /settings and press the send button. This will give you access to all your default configuration options.

The first section of the settings gives you the option of selecting the version of Midjourney you wish to use, ranging from version 1 to 5.1. As you might expect, a higher version number corresponds to a more recent version of the service. You also have the option of activating the Niji mode, which is the result of a collaboration between Midjourney and Spellbrush. This mode is specially designed to generate images in a style reminiscent of anime. What's more, you can further customise your prompts by adding specific styles, such as --expressive style or --style scenic.
You will then have the opportunity to define your 'style level'. The higher the level, the more artistic the images generated. Conversely, lower levels will produce images that closely match your prompts, with no superfluous additions.
You can also decide whether your images will be public or not, an option only available with the Pro account. You can also choose between quick generation mode and standard mode. Finally, Remix mode gives you the flexibility to modify certain parameters once the image has been generated. We're approaching the moment we've all been waiting for: the creation of your first image.
How do you create your first artwork with Midjourney?
The key command for bringing your image to life on Midjourney is /imagine. You must then formulate a sentence, called a "prompt", which describes the image you want to generate. Having experimented with Midjourney for several months, I recommend that you use English for your prompts, as it is generally better understood by the system. Although French is also an option, it can be more difficult to get satisfactory results.
Once you've initiated the image generation process, you'll see four different visual creations appear in the space of a few seconds.

In your prompts, it's good to know that Midjourney is based on the analysis of billions of images. This allows you to request the reproduction of specific styles or famous artists. What's more, by clearly indicating the intention or goal behind the photo you want to create, you can significantly influence the final result. By way of example, here's a prompt that has been created in three different styles: pixel art, contemporary and neo-impressionism.

After Creation: A Range of Options
Once all four images have been generated, your task is not complete. Below each of the images you will find a number of options. The selections marked U1, U2, U3 and U4 give you the option of downloading the image at a resolution of 1,024 x 1,024 pixels.

The V1, V2, V3 and V4 selections give you the opportunity to generate four stylistic variants based on the image you have initially chosen. This is a key step in your creative process.

If you are not satisfied with the four images produced, you have the option of regenerating them using the two circular arrows. If, after several attempts, you're still not happy with the result, it's highly likely that the problem lies with the initial prompt. For example, if you replace the word 'boat' with 'tacos' in your prompt, you'll get a completely different result.

Midjourney's Hidden Features
Adjustments to Criteria to be Known
When you write your prompt, you can add various criteria to refine the results. It is crucial to place these criteria at the end of your sentence so that they are correctly taken into account. Here are some of the most important:
- Use -ar to specify an aspect ratio. For example: -ar 4:3.
- The -no criterion lets you eliminate an element you don't want to see. For example: -no red.
- With -s, you can adjust the style of the image. For example: -s 250.
For a full list of available parameters, please consult the official Midjourney documentation.
Deciphering an Image to Understand its Prompt: The Magic of the Reverse Command
One of the most intriguing and fascinating features of Midjourney is what you might call 'reverse ordering'. Instead of providing text to create an image, this feature allows you to do exactly the opposite. Using the /describe command, you can send an image of your choice. Midjourney will then analyse this image and provide you with a series of text prompts that could have been the source of this image. This not only gives you an insight into Midjourney's image generation mechanisms, but also allows you to test these prompts to generate new variations. It's a great way to explore and understand the tool's capabilities. Here's an example to illustrate this function:

And this is what you get when you use the first suggested prompt:

Clearly, the /describe function is an excellent way of stimulating your creativity. Midjourney's Community Feed is another valuable source of inspiration. It shows you, for each image, the prompts and settings used by the community. You can access this feature directly on the Midjourney website, in the 'Explore' section, once you've logged in. To give you an idea, here's an example that includes the prompt used and all the associated settings:

How to combine two images into one
Another feature worth highlighting is the /blend command. This option lets you combine between 2 and 6 images to create a unique work. To illustrate its potential, here's an experiment in which I merged two emblematic French figures:
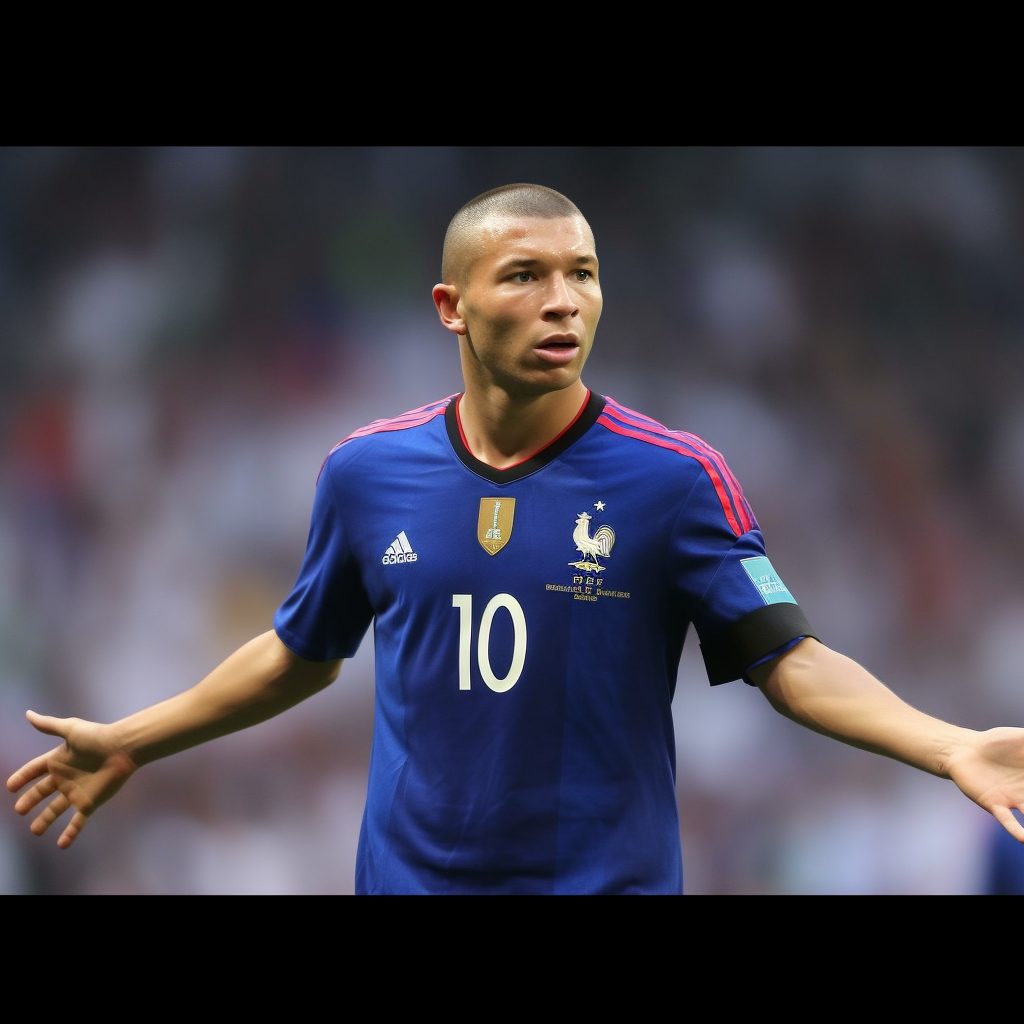
The final rendering was created from two separate photos, and it's here that we identify one of Midjourney's limitations: its difficulty in manipulating text effectively.
Go to the next level with Midjourney
This introductory guide to Midjourney is just the tip of the iceberg in terms of what you can achieve with this versatile tool. The opportunities are virtually limitless, from creating unique images to designing website layouts and logos. The active Discord community is also a valuable resource for discovering creative prompts and tips. Your only limit is your own imagination.
If you're interested in more advanced features, such as Remix mode, which lets you adjust specific parameters after your image has been created, or if you'd like to explore how to integrate your own images into the prompts, let me know in the comments.